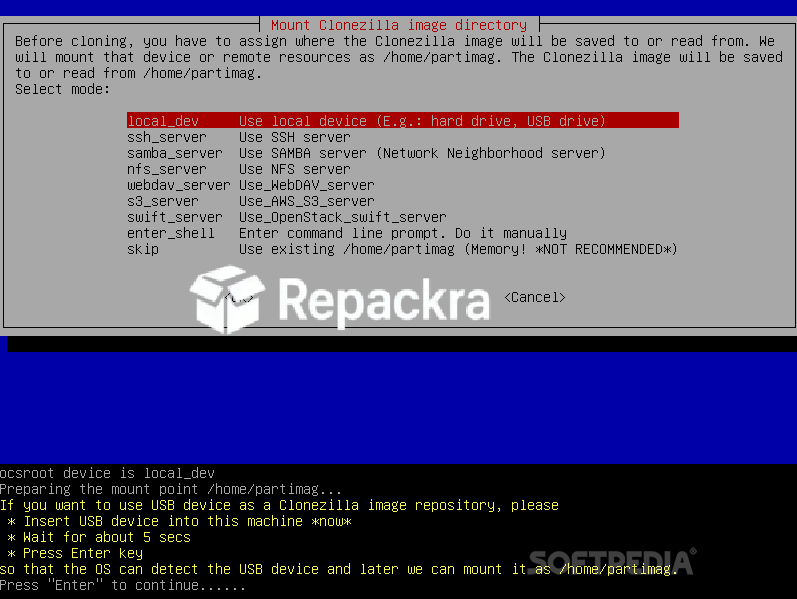
Clonezilla for PC is the disk cloning and imaging tool that IT professionals and serious home users have trusted for years to back up entire drives, migrate to new hardware, and recover from disasters without losing anything. Version 3.3.3-15 brings updated hardware support and a more refined live environment that handles modern drives and partitions reliably.
I keep a bootable Clonezilla USB ready at all times because the peace of mind that comes from knowing you can restore your entire system to a known good state in under an hour is genuinely irreplaceable, though for anyone who wants a friendlier interface for day to day scheduled backups rather than full disk migrations, Hasleo Backup Suite for PC is worth having installed alongside it.
Clonezilla Overview
Clonezilla for PC is a free and open source disk cloning and partition imaging tool that boots from USB or DVD and lets you create complete sector by sector or partition based backups of any drive, clone drives directly from one to another, and restore everything cleanly when you need to. It handles everything from simple single drive backups to complex multi partition system migrations across different hardware. Clonezilla for PC does one thing at a production quality level that commercial alternatives charge significant money to match.
Key Features:
- Full disk and partition cloning support
- Image based backup and restore
- Direct disk to disk cloning
- Supports ext4, NTFS, FAT, and many more file systems
- Network imaging via SMB, SSH, and NFS
- Unicast and multicast network deployment
- Bootable live environment from USB or DVD
- Compression options for smaller image files
- Encryption support for secure image storage
- Completely free and open source
What’s New in Version 3.3.3-15
- Updated kernel for better NVMe and modern hardware support
- Improved network imaging stability
- Better handling of GPT and UEFI partition layouts
- Several bug fixes and stability improvements
System Requirements
- 64-bit processor Intel or AMD
- 1 GB RAM minimum, 2 GB recommended
- 8 GB USB drive minimum for bootable media
- Source and destination drives as needed
- UEFI or legacy BIOS compatible system
How to Install Clonezilla on PC
- Download Clonezilla 3.3.3-15 for PC.
- Flash the ISO to a USB drive using Rufus or Etcher.
- Boot your PC from the USB drive.
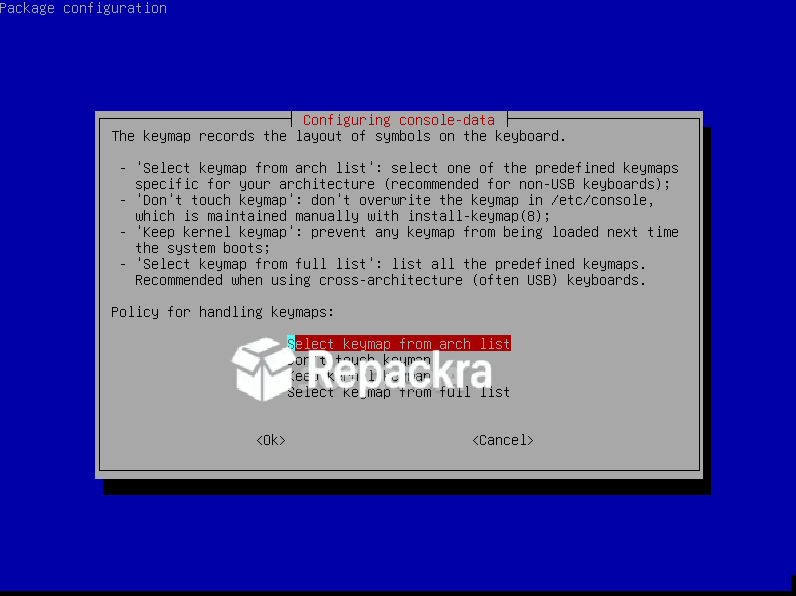
- Follow the Clonezilla setup wizard to choose your operation.
- Complete your clone or image backup and reboot when finished.
How to Download Clonezilla for PC
- Visit the official Clonezilla website at clonezilla.org.
- Select the stable release download for your architecture.
- Wait for the ISO file to finish downloading.
- Verify the checksum if desired.
- Flash to your USB drive and boot from it.
Supported Websites
- Clonezilla Official Website
- SourceForge Official Page
- GitHub Official Repository
- Softpedia
- Fosshub
- Filehorse
- 1000+ other trusted sources
Why Use Clonezilla for PC?
What makes Clonezilla for PC the go to disk imaging tool for so many IT professionals and informed home users is how completely it covers the disk backup and migration use case without asking for anything in return. Upgrading to a larger SSD, migrating to a new machine,
or recovering from a drive failure are all scenarios where having a complete and verified disk image already prepared makes the difference between a minor inconvenience and a catastrophic data loss event.
The network imaging capability is particularly powerful for anyone managing multiple machines since imaging several systems simultaneously over a local network is something that commercial tools charge enterprise prices for and Clonezilla for PC handles it without any licensing considerations.
Clonezilla vs Other Disk Imaging Tools
| Feature | Clonezilla | Others |
|---|---|---|
| Full Disk and Partition Imaging | Yes | Limited |
| Network Multicast Deployment | Yes | No |
| Multiple File System Support | Yes | Limited |
| Completely Free and Open Source | Yes | No |
| UEFI and Legacy BIOS Support | Yes | Limited |